- Introduction
- 1. React Native Internals 📡
- 2. Setting up the project 🌈
- 3. See it in action! 🎬
- 4. Project Structure 🏢
- 5. Conventions and Code Style 🎓
- 6. Testing and Debugging 🚫🐞
- 7. Styling 💅🏻
- 8. Redux 🗄
- 9. Navigation 🚪
- 10. DevOps ⚙️
- 11. SVG Icons using react-native-vector-icons 🐾
- 12. Internationalization 🇮🇳🇺🇸🇷🇺
- 13. Custom Native Modules 🍮
- 14. References
- 15. The End
- Published with GitBook
Begin customizing the project
Let's begin by creating a directory named app in the project folder. The app folder will have all our JavaScript source code.
Create a file index.js at app/index.js. This file will serve as the common entry point for both Android and iOS projects.
Modify the files as follows:
Note: In the newer versions of react-native, there is only one index file for both Android and iOS called index.js. Hence if you are using react-native 0.50+ then change only one file.
index.ios.js
import {AppRegistry} from 'react-native';
import app from './app/index';

AppRegistry.registerComponent('NoteTaker', () => app);
export default app;
index.android.js
import {AppRegistry} from 'react-native';
import app from './app/index';

AppRegistry.registerComponent('NoteTaker', () => app);
export default app;
app/index.js
/**
 * Sample React Native App
 * https://github.com/facebook/react-native
 * @flow
 */

import React, { Component } from 'react';
import {
  StyleSheet,
  Text,
  View
} from 'react-native';

class NoteTaker extends Component {
  render() {
    return (
      <View style={styles.container}>
        <Text style={styles.welcome}>
          Welcome to React Native!
        </Text>
      </View>
    );
  }
}

const styles = StyleSheet.create({
  container: {
    flex: 1,
    justifyContent: 'center',
    alignItems: 'center',
    backgroundColor: '#F5FCFF',
  },
  welcome: {
    fontSize: 20,
    textAlign: 'center',
    margin: 10,
  },
  instructions: {
    textAlign: 'center',
    color: '#333333',
    marginBottom: 5,
  },
});

export default NoteTaker;
As you can see, now we have a single entry point to the code base. Hence both react-native run-android and react-native run-ios will eventually run the same code app/index.js
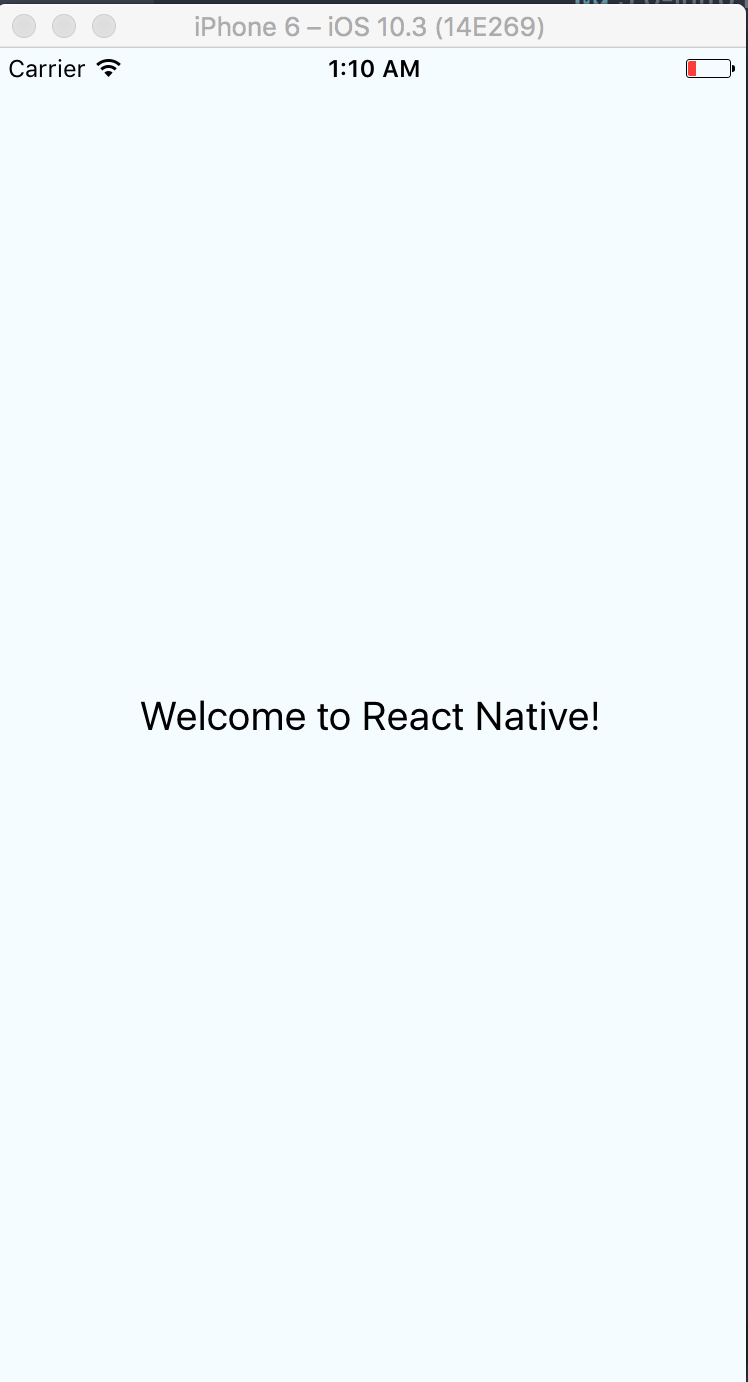
If you run the code now in iOS simulator, you should see
Directory structure
Now, let's create a few directories inside /app that will help us structure our code such that it is modular and easier to maintain.
cd app
mkdir assets components config pages redux
mkdir routes styles utils
So your project directory should now look like this
.
├── __tests__
│   ├── index.android.js
│   └── index.ios.js
├── app
│   ├── assets
│   ├── config
│   ├── styles
│   ├── utils
│   ├── components
│   ├── pages
│   ├── routes
│   ├── redux
│   └── index.js
├── app.json
├── index.android.js
├── index.ios.js
├── package.json
└── yarn.lock
app/assets- This is where all the images, videos, etc will go in.app/config- This is where configurations for the app will go in. For example, your environment specific config for dev and prod, etc.app/styles- This is where your global styles, themes, and mixins will go.app/utils- This is where all the services/utility files such as HTTP utility to make API calls, storage utility, data transformation utility, etc will go.app/components- The directory will contain all the dumb components. In short, these components will only do layouting and won't contain any states or business logic inside them. All the data to these components will be passed in as props. This concept will be explained in detail further in the book.app/pages- This directory will hold all the smart components. Smart components are those components which contain business logic and states in them. Their job is to pass the props to the dumb components after all the business logic has been executed.app/routes- This is where we will keep all our app's routing logic. This will contain the map between the pages(smart components) and the routes.app/redux- This will contain all our redux state management files like actions, reducers, store config, thunks etc.
Helper npm scripts
Before we continue any further, let us add two helper scripts to our package.json
Modify the package.json scripts to look like this
{
  .....
  .....
  .....
    "scripts": {
        "start": "node node_modules/react-native/local-cli/cli.js start",
        "test": "jest",
        "ios": "react-native run-ios",
        "android": "cd android && ./gradlew clean && cd .. && react-native run-android"
    },
  .....
  .....
  .....
}
From now on we will type yarn ios or yarn run ios from the command line to run the app in iOS simulator.
Similarly, for Android, we will type yarn android or yarn run android.
In case of Android, we are doing an additional step ./gradlew clean. This allows us to clear any build
cache that Android created before making an apk. This solves a lot of cache related issues in case of Android during development.

The code till here can be found on the branch chapter/5/5.1