- Introduction
- 1. React Native Internals 📡
- 2. Setting up the project 🌈
- 3. See it in action! 🎬
- 4. Project Structure 🏢
- 5. Conventions and Code Style 🎓
- 6. Testing and Debugging 🚫🐞
- 7. Styling 💅🏻
- 8. Redux 🗄
- 9. Navigation 🚪
- 10. DevOps ⚙️
- 11. SVG Icons using react-native-vector-icons 🐾
- 12. Internationalization 🇮🇳🇺🇸🇷🇺
- 13. Custom Native Modules 🍮
- 14. References
- 15. The End
- Published with GitBook
Creating basic components
Since we have a rough idea of what goes where from the previous page, let us create our first basic UI component. We will create a simple text area where we can enter our note text. React Native already bundles many basic UI components such as Text, View, TextInput, etc into the package react-native.
TextArea component
Create two files
- TextArea UI component -
app/components/TextArea/TextArea.component.js
import React, { Component } from 'react';
import { TextInput, View } from 'react-native';
import PropTypes from 'prop-types';
import styles from './TextArea.component.style';

class TextArea extends Component {
  state = {
    text : ''
  }
  render() {
    const {...extraProps} = this.props;
    return (
      <TextInput
        {...extraProps}
        style={[styles.textArea, extraProps.style]}
        multiline = {true}
        onChangeText={(text) => this.setState({text})}
        value={this.state.text}
      />
    );
  }
}

export default TextArea;
- TextArea style file -
app/components/TextArea/TextArea.component.style.js
import {StyleSheet} from 'react-native';

export default StyleSheet.create({
  textArea: {
    width: 200,
    height:100,
    borderColor: 'gray',
    borderWidth: 1
  }
});
This will be our TextArea UI component that we will use to enter our text.
Also, let's add our UI screen which will contain the TextArea component.
- Home screen component -
app/components/Home/Home.component.js
import React, { Component } from 'react';
import { TextInput, View ,Text} from 'react-native';
import PropTypes from 'prop-types';
import styles from './Home.component.style';
import TextArea from '../TextArea/TextArea.component';

class Home extends Component {
  render() {
    return (
      <View style={styles.container}>
        <Text> Please enter your note here</Text>
        <TextArea />
      </View>
    );
  }
}

export default Home;
- Home screen style file -
app/components/Home/Home.component.style.js
import {StyleSheet} from 'react-native';

export default StyleSheet.create({
  container: {
    flex:1,
    padding: 20,
    alignItems: 'center'
  }
});
And finally let's add the Home screen to the main app.
Let's modify the app/index.js to include our home screen.
app/index.js
/**
 * Sample React Native App
 * https://github.com/facebook/react-native
 * @flow
 */
import React, { Component } from 'react';
import Home from './components/Home/Home.component';

class NoteTaker extends Component {
  render() {
    return (
      <Home />
    );
  }
}

export default NoteTaker;
If you run the app now, you should have something that looks like this
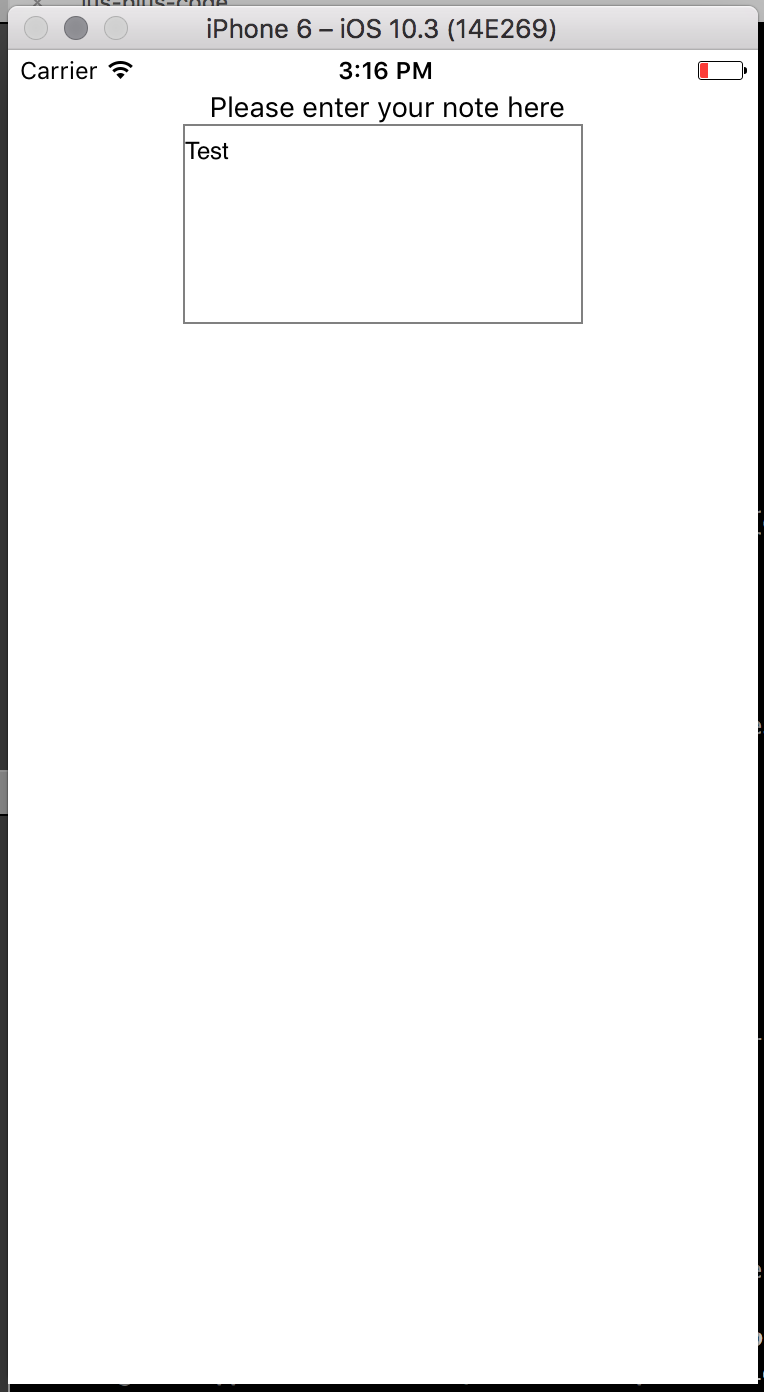
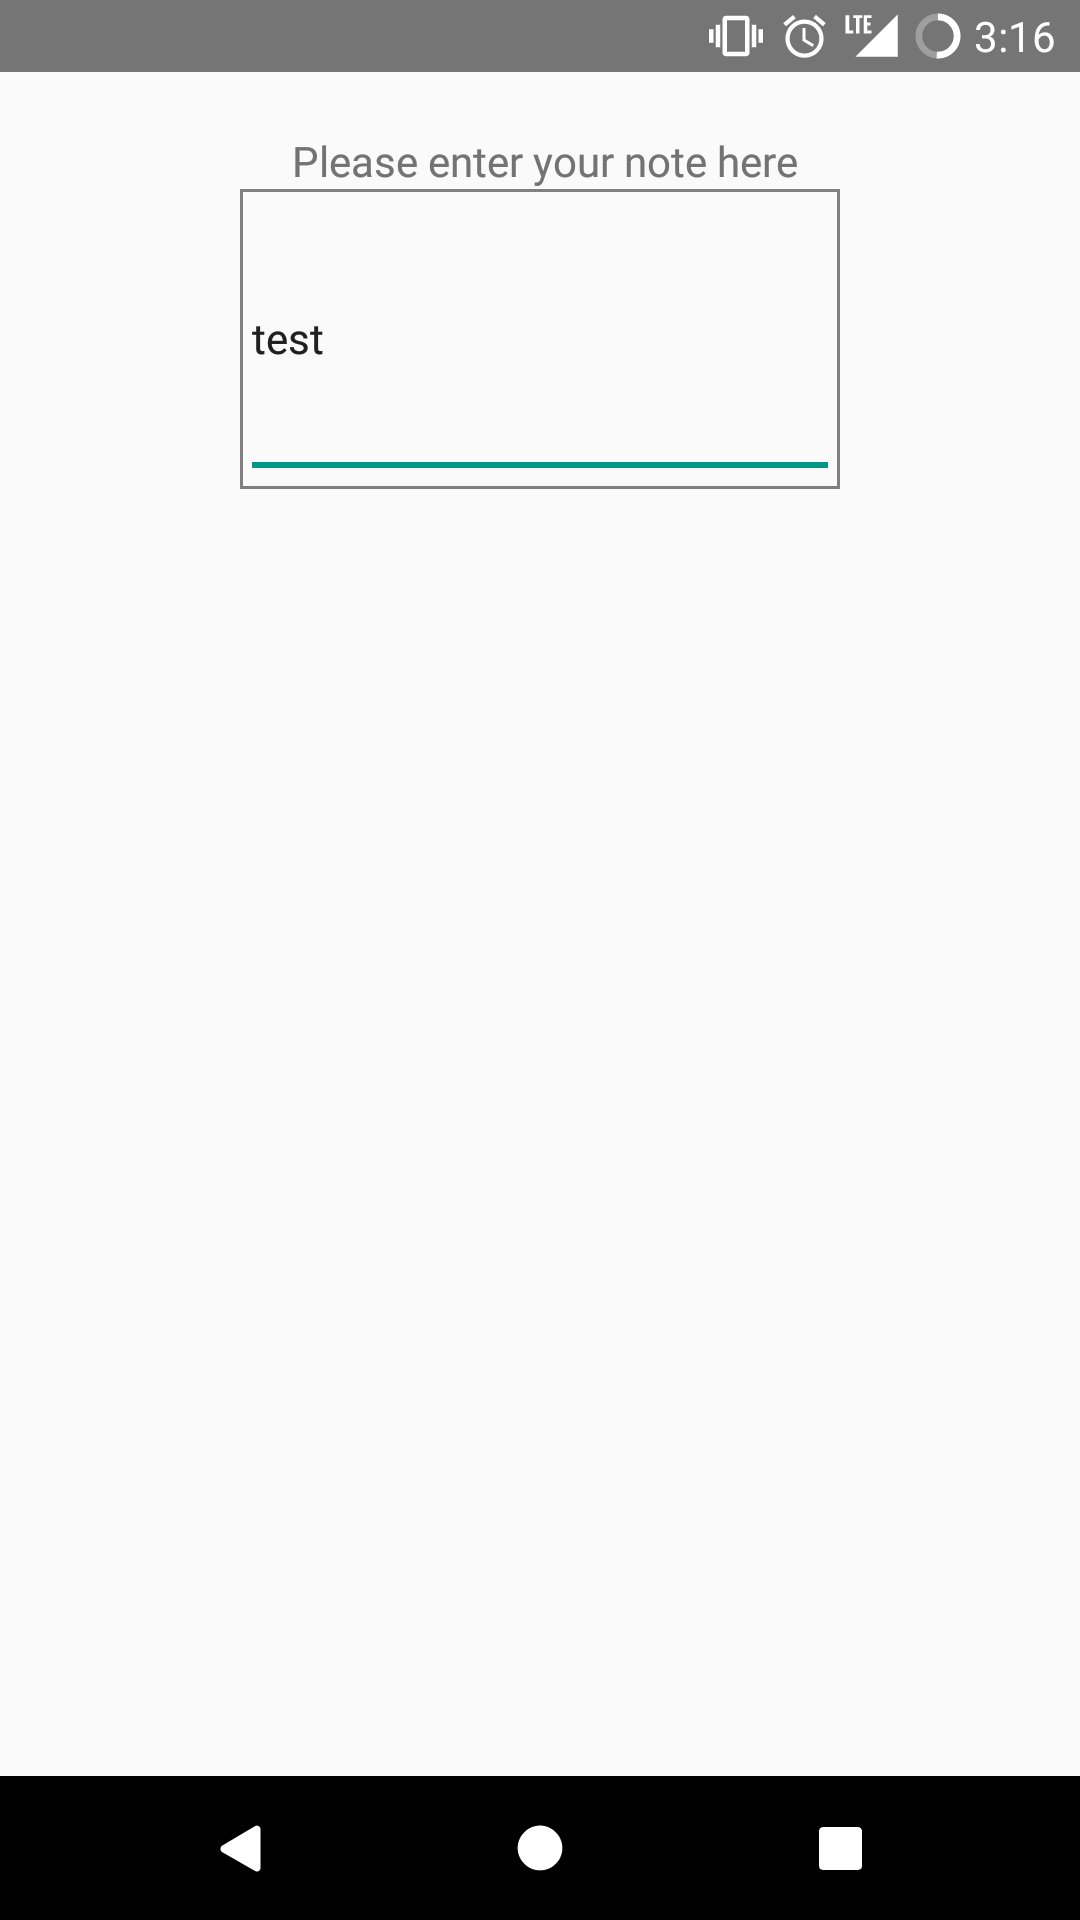
Platform-specific code
Now, as we can see we have different outputs in Android and iOS.
To solve this we create an extra file TextArea.component.android.js with the content
import React, { Component } from 'react';
import { TextInput, View } from 'react-native';
import PropTypes from 'prop-types';
import styles from './TextArea.component.style';

class TextArea extends Component {
  state = {
    text : ''
  }
  render() {
    const {...extraProps} = this.props;
    const alignTextTop = {textAlignVertical: 'top'};
    return (
      <TextInput
        {...extraProps}
        style={[styles.textArea, alignTextTop, extraProps.style]}
        multiline = {true}
        onChangeText={(text) => this.setState({text})}
        value={this.state.text}
        underlineColorAndroid={'transparent'}
      />
    );
  }
}

export default TextArea;
Reload the app.
You should see that both Android and iOS TextAreas look the same now.

Basically, under the hood, while importing/requiring a file during bundling the js, say TextArea.component, using the syntax
import TextArea from './TextArea.component'
or
var TextArea = require('./TextArea.component')
,the Android React Native packager looks for the files in the following order
TextArea.component.android.js and then TextArea.component.js
Similarly, the order in case of iOS is
TextArea.component.ios.js and TextArea.component.js
Note: Platform specific code can also be written by making use of the Platform module from react-native.
For example, we can also modify TextArea.component.js into
import React, { Component } from 'react';
import { TextInput, View } from 'react-native';
import PropTypes from 'prop-types';
import styles from './TextArea.component.style';
import {Platform} from 'react-native';

class TextArea extends Component {
  state = {
    text : ''
  }
  render() {
    const {...extraProps} = this.props;
    const alignTextTop = Platform.OS ==='android' ? {textAlignVertical: 'top'}: {};
    return (
      <TextInput
        {...extraProps}
        style={[styles.textArea, alignTextTop, extraProps.style]}
        multiline = {true}
        onChangeText={(text) => this.setState({text})}
        value={this.state.text}
        underlineColorAndroid={'transparent'}
      />
    );
  }
}

export default TextArea;
Notice that here only a single TextArea.component.js file is present for both Android and iOS.
This will also produce similar results.
But we prefer to use the first method where we create separate files with .android.js and .ios.js extensions.
In the case of different extensions we have different files, hence only the code needed for running our logic is bundled into the application. For example, let's assume you decide that you will use a custom library for TextArea only for Android. Now if we import that library into
TextArea.android.js, only in the case of the Android bundling will a new library be added, iOS will remain the same. Hence, it reduces our code size when bundling.In practice, we have noticed that
Platformmodule method is error prone as we have to manually check for Platform.OS wherever there are subtle differences in the output.

The code till here can be found on the branch chapter/5/5.2