- Introduction
- 1. React Native Internals 📡
- 2. Setting up the project 🌈
- 3. See it in action! 🎬
- 4. Project Structure 🏢
- 5. Conventions and Code Style 🎓
- 6. Testing and Debugging 🚫🐞
- 7. Styling 💅🏻
- 8. Redux 🗄
- 9. Navigation 🚪
- 10. DevOps ⚙️
- 11. SVG Icons using react-native-vector-icons 🐾
- 12. Internationalization 🇮🇳🇺🇸🇷🇺
- 13. Custom Native Modules 🍮
- 14. References
- 15. The End
- Published with GitBook
Presentational Components vs Container Components
When writing code in React or React Native, we often wonder how to structure our code so that it makes our life much easier when handling state changes, data flow and renders, etc. There is a pattern which helps in organizing React based applications - splitting the components into presentational and containers.
Presentational components
Presentational components are those components whose only job is to render a view according to the styling and data passed to them.
Essentially, they do not contain any business logic. That's why they are sometimes also called dumb components.
This means that they don't have direct access to Redux or other data stores. Data is passed to them via props.
According to Dan Abramov in his blog https://medium.com/@dan_abramov/smart-and-dumb-components-7ca2f9a7c7d0, presentational components:
- are concerned with how things look.
- have markup and styles of their own.
- have no dependencies on the rest of the app, such as Redux stores.
- don’t specify how the data is loaded or mutated.
- receive data and callbacks exclusively via props.
- rarely have their own state (when they do, it’s UI state rather than data).
An example of a Dumb/Presentational component would be:
import React, {Component} from 'react';
import {View} from 'react-native';
import styles from './Header.component.style';

class Header extends Component {
  render () {
    const {title, subtitle} = this.props;
    return (
      <View style={styles.container}>
        <View style={styles.titleHeading}>{title}</View>
        <View style={styles.subtitle}>{subtitle}</View>
      </View>
    );
  }
}
export default Header;
Container components
Container components are those React components which have access to the store. These components make API calls, do processing and contain the business logic of the app. Container components shouldn't have the view logic or presentational logic. The job of container components is to compute the values and pass them as props to the presentational components. Hence, these components are sometimes also referred to as Smart Components.
Therefore, container components:
- are concerned with how things work.
- don’t usually have any markup of their own except for some wrapping Views, and never have any styles.
- provide the data and behavior to presentational or other container components.
- call Redux actions and provide these as callbacks to the presentational components.
- are often stateful, as they tend to serve as data sources.
- are usually generated using higher order components such as connect() from React Redux, createContainer() from Relay, or Container.create() from Flux Utils, rather than written by hand.
An example of a Smart/Container component would be:
 import React, {Component} from 'react';
 import Header from '../component/Header.component';

 class Home extends Component {
   calculateSomething = () => {
     ...some calculation / api calls....
   }
   render () {
     const {title, subtitle, goToLogin} = this.props;
     return (
       <Header title={title} subtitle={subtitle} goToLogin={goToLogin} calculateSomething={this.calculateSomething}/>
     );
   }
 }
 const mapStateToProps = (state)=>{
   return {
     title: state.title,
     subtitle: state.subtitle
   };
 };

 const mapDispatchToProps = (dispatch) => {
   goToLogin: () => dispatch({action:'GO_TO_LOGIN'})
 };

 export default connect(mapStateToProps, mapDispatchToProps)(Home);
In the above example, if you notice, our Container component does not do any kind of layouting or styling. It only manages the business logic. This helps us separate the concerns "Styling/Layouting" and "Business Logic".
The Container-Presentational pattern gives us many benefits:
- Less code duplication. Because you are forced to move all the layout components out as separate presentational components, you can now directly reuse them instead of copy-pasting the code in every page.
- Presentational components are essentially your app’s View layer. Hence, you can change the styling without touching the app's logic.
- Better separation of concerns. You understand your app and your UI better by writing components this way.
- Better reusability. You can use the same presentational component with completely different state sources, and turn those into separate container components that can be further reused.
Back to Code
Let's organize our project to include presentational and container components pattern.
First, let's add a new reducer to manage our content (title and text).
Modify the action file to include these:
app/redux/actions/index.actions.js
import {createAction} from 'redux-actions';

export const TEST_ACTION = 'TEST_ACTION';
export const SET_TEXT = 'SET_TEXT';
export const SET_TITLE = 'SET_TITLE';


export const setTitle = createAction(SET_TITLE);
/* This is equivalent to
export const setTitle = (payload) => {
  return {
    type: SET_TITLE,
    payload: payload
  };
};
*/
export const setText = createAction(SET_TEXT);
Notice the use of createAction. As the comment says, we are essentially replacing:
export const setTitle = (payload) => {
  return {
    type: SET_TITLE,
    payload: payload
  };
};
with
export const setTitle = createAction(SET_TITLE);
To do this we need to include another package.
yarn add redux-actions
Now, let's create the corresponding reducer.
app/redux/reducers/content.reducer.js
import {SET_TEXT, SET_TITLE} from '../actions/index.actions';

const defaultState = {
  text: '',
  title: ''
};

const content = (state = defaultState, action) => {
  switch (action.type) {
  case SET_TEXT: {
    return {...state, text: action.payload};
  }
  case SET_TITLE: {
    return {...state, title: action.payload};
  }
  default:
    return state;
  }
};

export default content;
Now, let's add the reducer to the root reducer.
app/redux/reducers/root.reducer.js
import {combineReducers} from 'redux';
import test from './test.reducer';
import content from './content.reducer';

export default combineReducers({
  test,
  content
});
Finally, it's time to create our first Smart component.
Create a new file under /pages with the name Home.page.js
app/pages/Home.page.js
import React, {Component} from 'react';
import PropTypes from 'prop-types';
import {connect} from 'react-redux';
import {setTitle, setText} from '../redux/actions/index.actions';
import Home from '../components/Home/Home.component';

class HomePage extends Component {
  render () {
    const {setTitle, setText, title, text} = this.props;
    return (
      <Home setTitle={setTitle} setText={setText} title={title} text={text} />
    );
  }
 }

HomePage.propTypes = {
  setTitle: PropTypes.func,
  setText: PropTypes.func,
  title: PropTypes.string,
  text: PropTypes.string
};

const mapStateToProps = (state) => ({
  title: state.content.title,
  text: state.content.text
});

const mapDispatchToProps = (dispatch) => ({
  setTitle: (title) => dispatch(setTitle(title)),
  setText: (text) => dispatch(setText(text)),
});

export default connect(mapStateToProps, mapDispatchToProps)(HomePage);
If you notice the job of Home Page is just to fetch data and provide logical functions to the view layer.
The corresponding view layer would look like this:
app/components/Home/Home.component.js
import React, {Component} from 'react';
import {View, Text, TextInput} from 'react-native';
import styles from './Home.component.style';
import TextArea from '../TextArea/TextArea.component';
import PropTypes from 'prop-types';

class Home extends Component {
  render () {
    const {setTitle, title, text, setText} = this.props;
    return (
      <View style={styles.container}>
        <Text style={styles.titleHeading}> Note Title</Text>
        <TextInput style={styles.titleTextInput}
            onChangeText={setTitle} value={title} />
        <Text style={styles.textAreaTitle}> Please type your note below </Text>
        <TextArea text={text} onTextChange={setText} style={styles.textArea}/>
        <View style={styles.bottomBar}>
          <View style={styles.bottomBarWrapper}>
            <Text style={styles.saveBtn}>Save</Text>
            <Text style={styles.characterCount}>{text.length} characters</Text>
          </View>
        </View>
      </View>
    );
  }
}

Home.propTypes = {
  setTitle: PropTypes.func,
  setText: PropTypes.func,
  title: PropTypes.string,
  text: PropTypes.string
};

export default Home;
Finally, let's modify our app container to include the page instead of the component.
app/App.container.js
import React, {Component} from 'react';
import Home from './pages/Home.page';
import {connect} from 'react-redux';

class App extends Component {
  render () {
    return (
      <Home />
    );
  }
}

export default connect(null, null)(App);
Our app should now look like this:
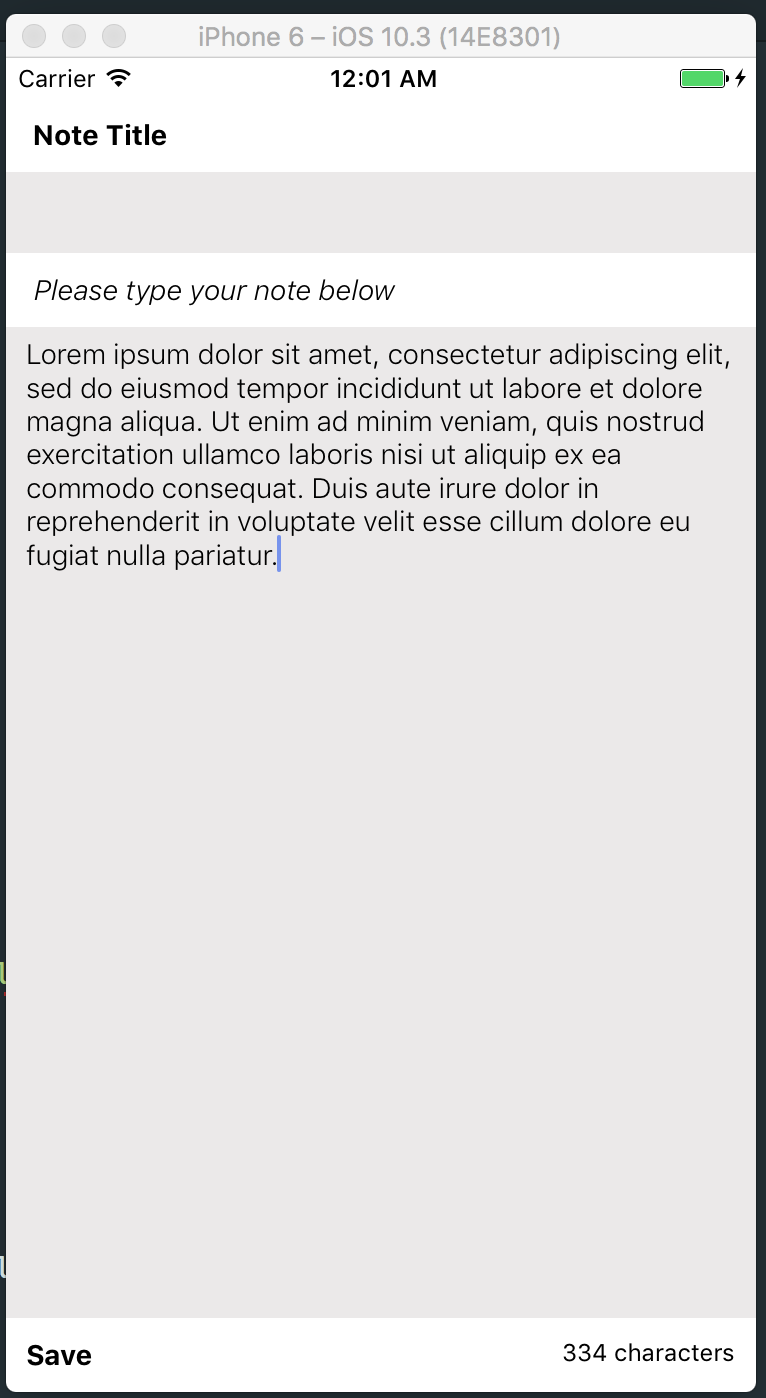
Although the app looks exactly the same, it is working in a slightly different manner.
If you paid attention you would notice:
- We now have a clear demarcation between the view and logic layer. Hence, we will know exactly where to look in case there is either a UI or logical bug.
- We are not importing
react-nativeat all in any part of the whole code base except inapp/components/. This means porting the project to any other platform like Electron is as simple as rewriting theapp/componentsdirectory. The logical layer remains intact. - The code is easier to maintain as the flow of data to the view layer happens via props.

The code till here can be found on the branch chapter/9/9.2